Introduction
The Address Importer is a dynamic feature within cPanel that simplifies the task of managing email addresses and contact information. By allowing users to import and export email accounts and address books in a bulk fashion, this feature significantly reduces the time and effort needed to set up email accounts on a new hosting platform or manage contacts. Whether transitioning to SmartHost or ensuring your contact data is seamlessly organised, the Address Importer stands as a crucial tool in efficient email management.
Quick Start Guide
Overview
The Address Importer comprises two fundamental functionalities: importing email accounts and importing address books. This guide provides a straightforward walkthrough to get you started with using this feature effectively.
Importing Email Accounts
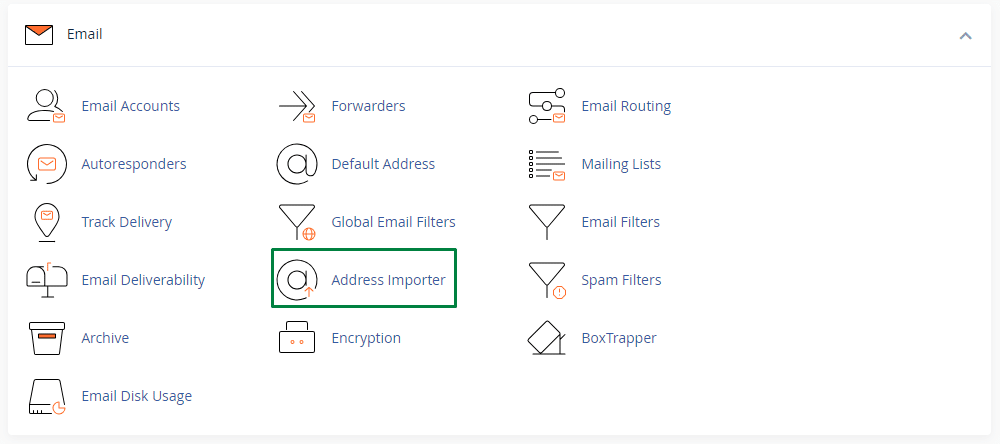
- Access the Feature:
- In your cPanel dashboard, locate and click on the “Address Importer” icon.
- Select Import Type:
- Choose the “Import Email Accounts” option.
- Upload Your File:
- Prepare a CSV or Excel file with the email account details. Ensure the file is formatted correctly with columns for email, domain, password, quota, and forward email.
- Click on the “Choose File” button to upload your file.
- Review and Complete:
- Once uploaded, review the information and hit the “Next” button to complete the import process.
Importing Forwarders
- Access the Feature:
- Similarly, in your cPanel dashboard, click on the “Address Importer” icon.
- Select Import Type:
- Choose the “Forwarders” option.
- Upload Your File:
- Prepare a CSV or Excel file with the address book details. Ensure the file is formatted correctly with columns for name, email, and other pertinent information.
- Click on the “Choose File” button to upload your file.
- Review and Complete:
- Review the data and click “Next” to finalise the import.
In-depth Guide
The Address Importer tool in cPanel is designed for a seamless experience in managing email accounts and email forwarder data. Here we delve deeper into the individual functionalities, providing a thorough understanding of each option within the importer.
Importing Email Accounts
When importing email accounts, the procedure begins with the preparation of a correctly formatted file. The file should be a CSV or Excel file containing columns for email, domain, password, quota, and a forward email. For instance, a sample row might look like: [email protected], password123, 1000MB
- Formatting Your File:
- It’s crucial that your file follows the correct format to ensure a smooth import process.
- Here’s a brief on formatting:
- Email:
[email protected] - Password:
password123 - Quota:
1000MB
- Email:
- Uploading Your File:
- The uploading process is straightforward with a clear interface guiding you through each step.
- Reviewing and Completing the Import:
- Post upload, it’s essential to review the information for accuracy before proceeding with the import.
Importing Forwarders
Importing Email Forwarders follows a similar pattern, with a slight variation in the file format. The file should contain columns for name, email, and any other contact information you wish to include.
- Formatting Your File:
- Correct formatting is key. For instance:
- Source:
[email protected] - Target:
[email protected]
- Source:
- Correct formatting is key. For instance:
- Uploading Your File:
- Similar to email accounts, the upload process is intuitive.
- Reviewing and Completing the Import:
- Ensure the accuracy of the data before finalising the import.
Frequently Asked Questions
What file formats are supported by the Address Importer?
The importer supports CSV (Comma Separated Values) and Excel file formats for importing email accounts and address books.
How do I access the Address Importer in cPanel?
To access the importer, log in to your cPanel account, and locate the “Address Importer” icon on the dashboard. Click on the icon to open the feature.
Is there a limit to the number of entries I can import using the Importer?
There is no specific limit set on the number of entries you can import. However, the import process’s smoothness may be affected if the file is excessively large. It’s advisable to split large files into smaller chunks for a better experience.
How do I format my file for importing email accounts?
Your file should have columns for email, domain, password, quota, and optionally, a forwarding email address. Ensure that each row contains the details for a single email account. For example, a row could look like: [email protected], example.com, password123, 1000MB, [email protected].
How do I format my file for importing address books?
Your file should have columns for name, email, and any other contact information you wish to include. Each row should contain the details for a single contact. For instance: John Doe, [email protected].
What happens if my file is formatted incorrectly?
Incorrectly formatted files may result in errors during the import process. It’s essential to review the formatting guidelines provided in the In-depth Guide section above and ensure your file adheres to the specified format.
Can I export email accounts and address books using the Importer?
The Address Importer is primarily designed for importing data. However, cPanel offers other features like the “Backup” option to export and backup your data.
Who can I contact for support if I encounter issues with the Importer?
If you encounter any issues or require assistance with the Address Importer, feel free to reach out to SmartHost’s support team through the Support Centre